

Eggs can be fussy.
Most recipes don’t actually require tempering in this way. However, if you want or need to do so, here’s how you can.
It’s not too hard when you know how. Hopefully this can help you make less mistakes than I did in learning this.
The Recipe Discussion:
Why I’ve done it this way.
It’s perfect for making ice-cream bases, custards and similar style dishes where traditional tempering isn’t the goal but more to cook the egg through to a safe temperature.
Some people have undisclosed health conditions (or may even unaware that they have one yet). My personal belief is that even if your country has good farming and testing standards, it’s best to err on the side of safety.
Cooking is such a labour of love, and we usually do this for those we care about, the extra step is always worth it.
Some ingredients I’ve used.
Eggs – I use organic, because where I live these are the highest welfare type.
Milk – Whole Organic. I have used semi-skimmed in a pinch, and I have also used semi skimmed with fortified whole milk powder to whole it up a little. All work okay. I have not used just powdered milk.
Method Notes.
It’s worth mentioning I’ll be covering pasteurising eggs in shells later on for other uses.
In this example, I’m testing a low effort ice-cream base, so I’m using sugar, glucose and cream. Ingredients such as milk, cream, flavourings, additions and such can usually be used interchangeably in the same way.
If you’re looking for traditional stovetop tempering, you can find it here!
Storage Discussion:
If you’re using this promptly, you may want to move onto the next section.
If you’re needing to store this for some time then there are some basic things that’ll help.
Use sterilised storage containers/jars to hold the mix once completed. Minimise bacteria from the start.
As soon as it’s cooled, cover it with a piece of baking paper on the surface to help prevent crusting, seal it over with a lid, clingfilm or wrap of choice and move it to the fridge until you’re almost ready to use it.
Print
Method: Tempering Eggs (Blender)
How to temper eggs with an immersion blender.
You can adjust the quantities of eggs to liquid as needed for whatever recipe you’re using. Given this recipe is a method only, please refer your recipe page for actual volumes needed.
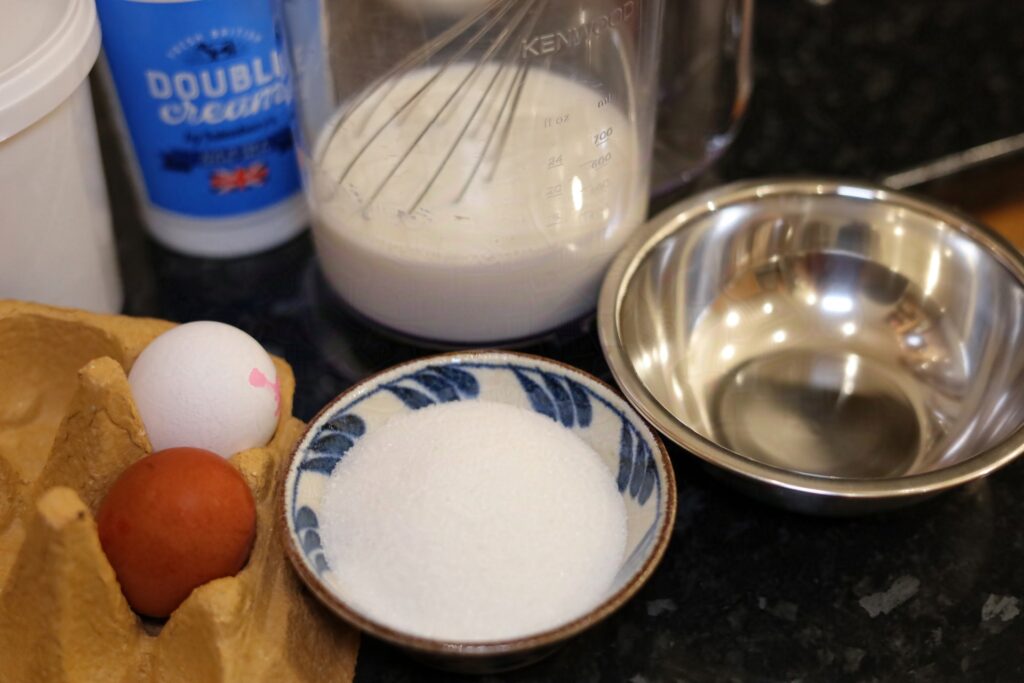
Ingredients
Equipment
- Blender (immersion or drink blender with access hole so you can add while it’s running cleanly and safely)
- Milk pan bigger than your milk but small enough for the blender to be immersed (you can always move it to a mixing bowl for step 9.2.1)
- Jug for storage if not using it in your main recipe right away
- Sieve
- Food thermometer
- Dishcloth/kitchen cloth
- Make sure it’s all clean and dry
Ingredients
- Eggs
- Milk or alternative milk replacement
- Optional: Vanilla or extract of choice
- Optional: Cream (if your recipe calls for it)
Instructions
- Get a small bowl.
- Crack the eggs and discard shells as appropriate.
- If not using the whole egg, carefully separate at this stage.
- Whisk well until smooth, sieve the eggs intended for use into the other small bowl to remove any lumps.
- Wash the sieve after (or grab a new one if you have multiple).
- Read up to the end, you want to work quickly and knowing what to do with each type of blender here helps.
- Get a pan, put milk in pan, leave a small part (about a third) fridge cold to cool the mixture after pasteurising/cooking the eggs in the heated part.
- The cold milk helps avoid them scrambling as you move to your main recipe or for cooling quickly and smoothly if storing.
- Heat milk of pan to 70°C ensuring it doesn’t get too hot, this will ruin your eggs. While heating move onto next step.
- Get your blender plugged in and your eggs ready.
- Once it reaches the desired temperature, remove from the heat and turn it off.
- If it’s a drink style blender:
- Put your eggs in the blender and about 1 tbsp of the cool milk to help it move properly.
- Turn on the blender.
- Through the access hole pour the milk in a thin steady stream until it’s all gone.
- Leave blending for another 15 – 30s on medium-high.
- Pour in cold milk in a thin stream to stop it cooking. Blend for a further 5 – 10s.
- If it’s an immersion blender:
- Have the eggs ready.
- Put the blender in the milk and turn it on.

Heated milk with immersion blender sat inside the mix - Add the eggs slowly while the blender is running.

Eggs being poured in while blender is on - Leave blending for another 15 – 30s on medium-high.

Blender tempered eggs and milk - Pour in cold milk (or cream if it’s convenient for your recipe) in a thin stream to stop it cooking. Blend for a further 5 – 10s.
- If it’s a drink style blender:
- Get a fine sieve (or as fine as you have) and a bowl big enough for your mixture.
- Sieve the mixture into the bowl to remove lumps and unwanted foam.
- If continuing recipe: Transfer back to pan and enjoy continuing on your main recipe (keep stirring making sure to avoid burning the bottom of the pan
- If storing: Cool using an ice-bath to quicken the process if you’re cooling it for storage.
- Once cool, move it to your storage container and cover the mix with a layer of baking paper and cling film, or your favourite wrapping method that covers the surface of the custard to stop it forming a crust/skin.
Notes
You don’t need to use the full recipe fluid if this is for another recipe, you can temper it with a good enough amount and add it to the rest to heat or cool.
Rinse your sieve quickly, it makes it a lot easier to clean afterwards.
Milk, cream and such dairies can usually be used interchangeably in the same way.