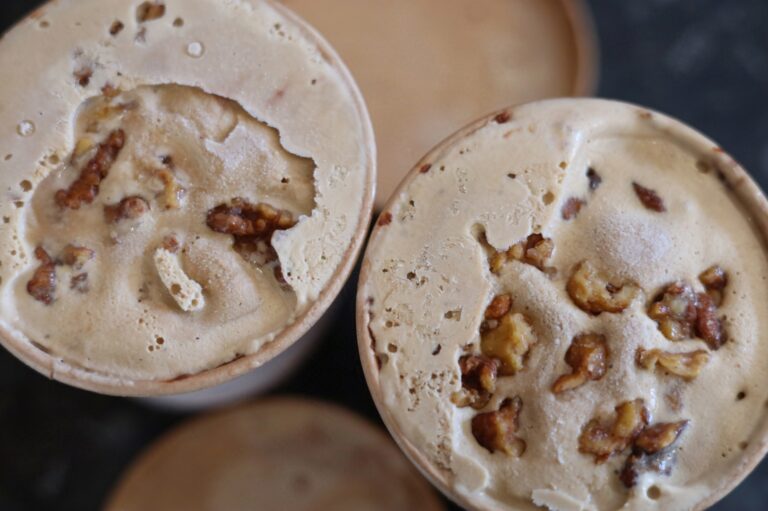
Ingredients
Equipment
- Ice Cream maker
- Measuring jug (ideally 1 -2 litres volume)
- Mixing bowls (small, medium & large)
- Pan (ideal size here, and minimum)
- Stirring paddle
- Whisk
- Weigh scales
- Ice Cream storage device
- Espresso machine or percolator
- Sieve
- Ice
- Cold water
Ingredients
- 180g Double Cream
- 420g Whole Milk
- 100g Sour Cream
- 100g egg yolks, or close to
- 50g Espresso beans, crushed if you prefer. You can leave them whole.
- Extra coffee: Brewed Strong Coffee (Espresso or percolator). Enough to colour and round the taste, I used about 4-5 espresso shots. Use caution. Taste it. You'll decide what you like here to a point. Try to use 120-150ml here. See Notes.
- 130g Sugar
Instructions
- Prior to start day 1: Gather your equipment and ingredients. Keep the cream and sour cream in the fridge. It won’t be needed today.
- Clean pan, whisk, jug. Get the milk and the coffee beans prepped.
- Infuse the milk: Put the milk and beans in a pan, and gently heat it ’til it begins to get warm but not incredibly hot. Around 65c.
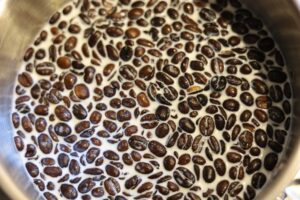
Coffee beans soaking in milk. - Get the jug, make sure it’s as clean as possible to increase the lifespan of the ice cream. Put the milk and bean mix in the jug. Cool, wrap and store the milk mixture ideally overnight, I usually leave it around 24h.
- Prior to start day 2: Gather and clean your equipment, prep work surfaces etc, read up ahead. Decide how you’re going to pasteurise them using your preferred methods or one of these: blender method or stovetop/hob.
- Temper the eggs: Additionally before we begin to get the custard going, get your milk (can be cold) and eggs (I work these from room temp for this) ready.
- Measure and combine in a jug the sour cream and double cream. Keep that cold in the fridge for now.
- Prep your ice and water bath using the large bowl combination, sit a medium/large bowl inside it (smaller than the one being used for the ice water), leave room so water doesn’t get into your bowl sat inside.
- Separate eggs if using whole, storing the whites and finding a way to use them later is ideal.
- Get the separated bowl of yolks, whisk and sieve lumps using a sieve.
- Pasteurise the eggs with milk using one of the two methods linked here: blender method or stovetop/hob.
- Add the brewed coffee liquid, whisk in quickly and thoroughly. Turn off the heat once done.
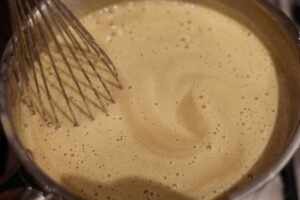
Heating the mixture - Cooling Phase: To begin to cool quickly we can add the double and sour cream mix.
- Sieve into the bowl sat inside the ice bath and cool further, keeping it stirring to keep lumps from forming gently so not to spill water.
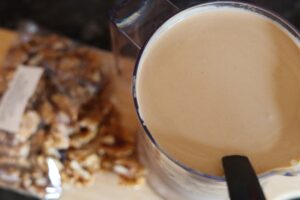
Coffee Ice Cream Custard Base - Pour into storage jug and wrap it over.
- Refrigerate for 4 hours min to overnight.
- Churn base using your ice-cream makers methods. Freezing times will vary according to your own machine. Mine is usually less than 10-15 min.
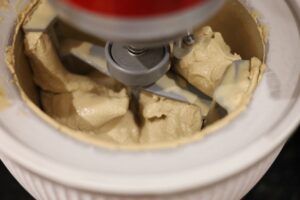
Coffee Ice Cream in Churning. - Once churned: Add in mix-ins with a spatula, folding it through by hand. Add swirls and sauces as preferred.
- Tub and freeze this as fast as you can.
- Freeze for a couple of hours to harden prior to serving, 1 will be fairly soft-serve (as long as you churned it fully) and up to about 8!
Notes
Ingredients: Coffee (Liquid) A little more should be fine, too much and you might find it gets icy without adding fats. I’ve not yet done the full maths. The same might apply for the beans.
Step 2 Notes: Some like to break the beans up and strain with cheesecloth after. I tend not to so I can use standard sieve.
Defrost to serving consistency for 20-60m or so in fridge for best results. Times can vary according to temperature of fridge and consistency desired.
Storage life tends to be longer if you do not have an auto-defrost/frost-free freezer due to them often being a little more stable temperature wise.
Keeping everything super clean while doing this is going to help the lifespan of your ice cream. It’s worth doing some research. I’ll write up more one day.